DIY Rectangle Fire Pit
Creating a DIY rectangle fire pit in your backyard is a simple and cost-effective way to enjoy outdoor living.
Many homeowners spend thousands on pre-built fire pits, but with some basic tools and materials, you can construct one yourself for a fraction of the cost.
This blog post will guide you through the process of building a durable and stylish DIY rectangle fire pit that will become the centerpiece of your outdoor space.
Get ready to gather around the fire and make lasting memories with family and friends.
Selecting the Right Location for Your DIY Rectangle Fire Pit
Location determines the functionality and safety of your DIY rectangle fire pit.
Choose a flat, level area away from buildings, trees, and overhanging branches. Ensure the site offers ample space around the fire pit's perimeter.

Avoid constructing on grass or wood decks.
Opt for non-combustible surfaces like gravel or sand, and avoid using organic materials like soil, which can smolder or burn.
Consider the prevailing wind direction to minimize smoke blowing toward seating areas.
DIY Rectangle Fire Pit Materials
Selecting appropriate materials is crucial for building a sturdy DIY rectangle fire pit. Consider using concrete for the base and walls.

Use wood only as a temporary mold during construction, and ensure it is completely removed or replaced with fire-resistant materials before using the fire pit.
Fire bricks line the interior for heat resistance.
Concrete
Concrete is an excellent material for building DIY rectangle fire pits. It's durable, fire-resistant, and easy to work with.
Many DIYers opt for concrete blocks or pavers to construct the fire pit's walls.
For enhanced durability and stability, it's recommended to use mortar between the concrete blocks.
Pour a thick layer of ready-mix concrete into the pit's base to ensure a solid and durable foundation.
For a sleek look, consider plastering the concrete with a smooth finish.
Cement backerboards provide a smooth surface for plastering. Tinted concrete stains create beautiful color variations.
Framing materials
For the framing that will not be exposed to high temperatures, use pressure-treated lumber for its durability.
Ensure that any lumber close to the fire or heat source is non-treated and heat-resistant to avoid the release of harmful chemicals.
Arrange four rectangles using 2x4s and 4x4s. Two 2x4s form the horizontal base. Secure two 4x4 verticals at the corners.
Use fire-resistant fasteners to assemble the framing securely.
Cement boards form the fire pit walls. Fasten these to the framed rectangles using cement board screws.
Construct a supportive grid using metal bars on top of the cement boards to safely hold the fire pan.
Fire Bricks
Transitioning from framing materials, fire-resistant bricks line the interior. These specialized bricks withstand high temperatures, protecting the fire pit walls.
Clay fire bricks interlock, creating a robust inner layer. Lava rocks secure the fire bricks in place.
Fire bricks offer durability and heat resistance. The pit's interior demands heat-proof materials.
Clay fire bricks meet this need, ensuring long-lasting performance. Their interlocking design enhances structural integrity.
Building a DIY Rectangle Fire Pit
Building a DIY rectangle fire pit is a great way to add a cozy and functional feature to your outdoor space.
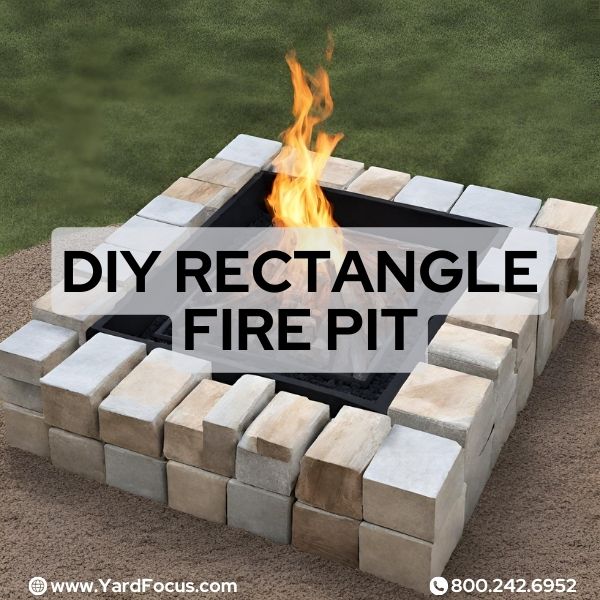
Framing the pit with sturdy materials like concrete blocks or fire-resistant bricks ensures safety and longevity.

Consider using heat-proof paver stones for the top, creating a stable surface. Determine an appropriate size based on your yard and desired use.
Proper ventilation and fuel choices like seasoned firewood enhance the experience.
Read on to learn more about this exciting project.
Framing the Fire Pit
Framing lays the foundation. Construct four rectangles using 2x4 beams and 4x4 posts.
Two horizontal 2x4s form the top and bottom. Two vertical 4x4s create the sides. Secure these frames together to outline the pit's size.
Cement boards attach to the frame. Screw cement boards vertically to the interior rectangle faces.
This creates the fire pit's walls. Precise measurements ensure a proper fit.
Building the Walls
Cement boards are secured to the frame. This creates the fire pit walls. Cement board screws fasten the boards.
If the actual dimensions of the fire pit are larger than expected, resize the cement board sections accordingly to ensure they fully cover the walls.
Next, apply the concrete mixture. Expect to spend 1-2 hours on this task, which can be physically demanding.
For the concrete mix, use a commercial surface bonding cement or prepare a mixture of white cement and sand in a robust container for better consistency and strength.
Creating the Top
After building the walls, cap the fire pit with a sturdy top.
Use heat-resistant materials like steel or fire-rated paving stones. Ensure proper spacing for airflow and heat dissipation.
Secure the top firmly to prevent shifting or collapse, and ensure it features proper ventilation openings to allow safe and effective airflow.
For enhanced safety, consider adding a metal ring or grate on top. This allows easy access for tending the fire while containing sparks and embers.
Explore design options that complement your backyard aesthetic.
Applying the Concrete
Applying concrete requires patience and physical effort. Scoop concrete with a trowel.
Spread it evenly on the walls, working from bottom to top in small sections. Add extra concrete where cement boards meet at corners.
Concrete mixers blend cement, sand, gravel, and water. Trowels smooth surfaces.
Cement boards provide fire-resistant backing. Wear gloves and eye protection when handling concrete.
Important Aspects of Building a Fire Pit
Fire pits require proper sizing and depth. Too small will not accommodate enough fuel. Too much may pose safety risks.
The ideal width is 36-44 inches for log burning. Proper depth prevents embers from flying out.

Ideal Size for a Fire Pit
A fire pit's perfect size hinges on its interior diameter. A 3 to 4-1/2-foot diameter accommodates 2 to 4 people comfortably.
Larger groups require bigger fire pits. Smaller spaces suit smaller fire pits. The key is leaving enough room around the fire pit for chairs and foot traffic.
A fire pit's depth matters too. One foot deep allows good visibility of the flames for folks seated around it.
Deeper pits make it harder to appreciate the fire's warmth and ambiance.
Depth of a Fire Pit
The ideal depth for a fire pit is around 1 foot. This depth allows for sufficient airflow and burning space.
Deeper pits risk insufficient oxygen supply, causing smoldering and excessive smoke.
A fire pit's depth impacts its fuel efficiency and safety. Ensure proper drainage to prevent water accumulation.
The next section covers ideal fire pit fuel sources.
Fire Pit Fuel Sources
Transitioning from the depth aspect, let's discuss fire pit fuel sources.
Appropriate fuel selection enhances the fire pit experience.
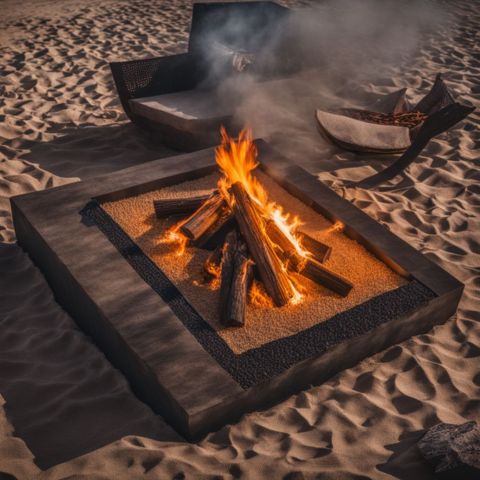
- Wood logs create a traditional campfire ambiance. Hardwoods like oak burn longer and produce less smoke. Softwoods like pine ignite easily but burn faster.
- Charcoal briquettes provide consistent, long-lasting heat. Lump charcoal, made from hardwood, burns hotter with less ash buildup.
- Propane fire pits offer convenience with push-button ignition and adjustable flame heights. Propane tanks require refilling periodically.
- Gel fuel canisters provide clean, odorless flames making them ideal for small fire pits. These canisters are disposable and emit minimal smoke.
- Fire logs simulate wood logs while minimizing emissions. Made from compressed wood fibers or wax, they offer extended burn times.
- Pellet fuel comprises compressed biomass materials like wood, producing less smoke than logs. Pellets require a specialized burner system.
Consider factors like desired ambiance, fuel availability, and environmental impact when selecting appropriate fire pit fuel sources.
DIY Rectangle Fire Pit Ideas
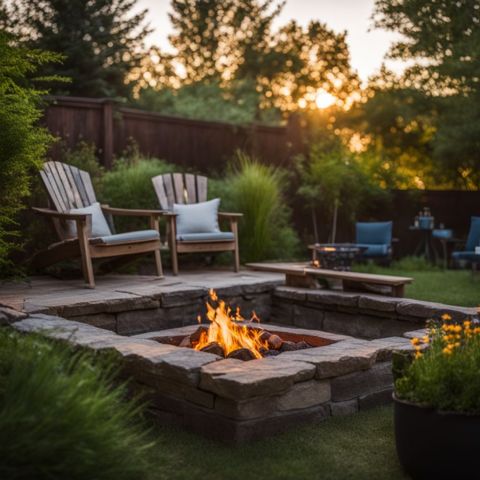
Customize your rectangle fire pit with stylish stone or brick veneer. Lay stacked stones or bricks around the outer sides.
This adds texture and character. Alternatively, use colorful tiles or mosaics to create eye-catching patterns.
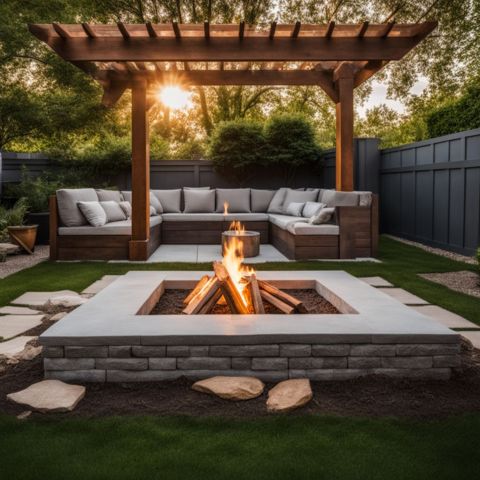
For extra flair, incorporate built-in benches using concrete blocks or retaining wall blocks.
Extend the rectangle shape slightly on one or more sides to accommodate bench seating.
Top it with weather-resistant cushions for comfort. Integrate a tabletop surface by installing a fire-glass pit insert ringed by tile or stone.
This multifunctional design doubles as a coffee table when not in use.
FAQs
What shape is a rectangle fire pit?
A rectangle fire pit is an elongated square shape constructed using block pavers.
Can I build a rectangle fire pit myself?
Yes, you can build a DIY rectangle fire pit using square block pavers.
What materials do I need for a DIY rectangle fire pit?
To build a DIY rectangle fire pit, you will need square block pavers and other supplies.
Is a rectangle fire pit better than a round one?
A rectangle fire pit made with square block pavers can provide more seating space compared to a round fire pit.
Conclusion
A DIY rectangle fire pit offers an affordable and rewarding project.
Carefully plan the location and gather essential materials like concrete, framing lumber, and fire bricks.
Follow instructions to build a sturdy fire pit frame, construct walls, create a top, and apply a concrete mixture.
Consider size, depth, and fuel sources for safe operation. Personalize your fire pit with creative ideas for a cozy outdoor living space.
Proper setup by professionals ensures safe enjoyment for years.

