

How To Start A Fire In A Fire Pit
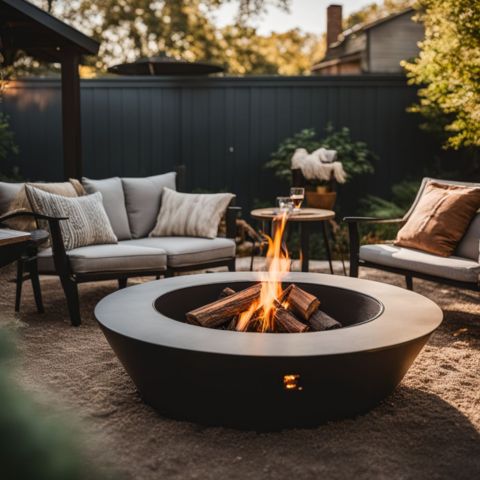
Many homeowners desire a cozy outdoor space to gather but don't know how to start a fire in a fire pit.
With the right materials and techniques, you can create a warm, inviting ambiance.
This article will guide you through the process, ensuring a safe and successful fire.
Discover the simple steps to start a fire in your fire pit.
Fire Pit Safety Precautions
Fire pit safety is crucial. Ensure the pit is at least 10 feet from structures and trees.
Avoid using toxic products such as treated wood or flammable liquids with harmful chemicals and building fires in windy conditions to prevent uncontrollable spread.
Always have water, sand, or a fire extinguisher nearby to extinguish flames properly.
Fire pits require precautions. Place the pit on an even surface, away from combustible materials.
Never use flammable liquids as starters. Have a bucket of water or an extinguisher on hand.
Make sure to check local regulations and fire bans, as these can vary and impact the ability to legally start a fire in certain conditions.
Key Steps to Starting a Fire in a Fire Pit
Before you ignite the flames, prepare the fire pit area. Clear away any flammable materials nearby.
Next, gather the necessary items: tinder, kindling, and firewood.
Gathering the Necessary Materials
To start a fire in a fire pit, gather tinder, kindling, and firewood. Tinder comprises easily flammable materials like newspaper, dry leaves, or straw.
Kindling refers to thin sticks or twigs that burn rapidly, igniting the firewood.
Ensure you have a sufficient supply of tinder and kindling within easy reach but not too close to avoid unintended ignition.
Safely stack firewood logs at a safe distance from the fire pit.
Pick well-seasoned hardwood that burns hot and long. Avoid using treated wood, which releases toxic fumes.
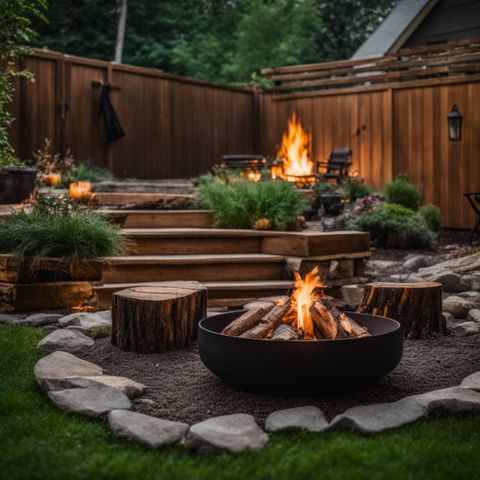
Organizing Your Fire Pit
Organize the fire pit area. Clear away any flammable objects or debris. Position the fire pit away from overhanging branches or structures.
Ensure ample space around the pit for safety.
Place a fire extinguisher or water source nearby.
Construct the fire in a teepee arrangement. This promotes airflow, ensuring a clean, hot fire with reduced smoke.
Lead to the next heading about constructing the fire.

Constructing Your Fire
Constructing your fire begins with creating a base layer of tinder, such as dry leaves, twigs, or dryer lint.
Arrange this tinder in the center of your fire pit. Next, build a pyramid or teepee structure using kindling, which includes small sticks and twigs.
This structure allows for optimal airflow, which is essential for igniting and sustaining the fire.
Carefully stack larger pieces of firewood around the kindling, ensuring gaps for ventilation.
Proper airflow promotes combustion and prevents smothering the flames.
How to Light Your Fire Pit
To light your fire pit, start with tinder. Add kindling on top. Ignite the tinder. As the kindling catches fire, add firewood.
Read on for detailed steps to enjoy a safe and cozy fire pit experience.
Step 1: Tinder
Tinder consists of dry, combustible materials. These include dryer lint, shredded paper, sawdust, or small twigs.
Gather enough tinder to fill the base of your fire pit. Ensure the tinder is bone-dry.
Flammable tinder ignites quickly, providing an initial flame to light the kindling.
The first step involves arranging the tinder in a nest-like shape. This nest allows oxygen flow, aiding ignition.
Loosely pile the tinder, leaving spaces for air circulation. Avoid compacting the tinder tightly.
Step 2: Kindling
With the tinder arranged, the next crucial step involves preparing the kindling.
Kindling comprises small sticks or twigs that catch the flame from the tinder.
Gather dry, easily combustible materials like small branches, cardboard strips, or commercial fire starters.
Step 3: Lighting
Now, ignite your tinder by using a lighter or matches. Ensure the flame touches the tinder directly.
Wait for the tinder to catch fire and produce a small, steady flame.
After the tinder ignites, gradually add larger pieces of kindling onto the fire.
Position the kindling strategically to allow airflow and promote combustion. Ensure the kindling catches fire before proceeding to the next step.
Step 4: Adding Firewood
Once the kindling catches fire, gradually add larger pieces of firewood.
Place the logs strategically, allowing adequate airflow between them. Hardwoods like oak or maple burn longer and hotter than softwoods.
Arrange the firewood in a teepee or log cabin formation for optimal combustion.
As the fire grows, replenish it with additional logs, ensuring a steady supply of fuel.
Keeping a balance between air intake and fuel addition is crucial for a long-lasting, controlled fire.
Maintaining Your Fire
Maintaining your fire pit fire requires vigilance. Monitor the firewood condition.
Add more tinder and kindling as needed. Ensure proper airflow by gently fanning the flames, if necessary.
Adjust the log arrangement periodically.
Avoid overloading the fire pit. Maintain a manageable size. Extinguish before leaving unattended.
Using fire tools, carefully rearrange logs or add more wood as the fire burns down.
Remember, while setting up your fire, never resort to using flammable liquids such as lighter fluid, as these substances pose significant safety risks and environmental concerns.
How to Properly Extinguish a Fire in a Fire Pit
Extinguishing the fire safely is crucial. The following steps ensure no embers remain.
- Allow the fire to burn down completely until only ashes remain.
- Use a shovel or metal tool to spread ashes and embers apart.
- Slowly pour water over ashes, avoiding smoke clouds or flying embers.
- Stir the ashes and add more water until no hot spots remain.
- Use a tool to stir ashes and ensure they are completely cool to the touch with a temperature-safe device before leaving.
When applying water to extinguish the fire, do so gently to prevent steam burns or the scattering of hot embers.
Always proceed with caution and ensure all embers are fully extinguished.
The fire pit extinguishing process completes your safe fire experience. Next is the conclusion.
FAQs
What materials do I need to start a fire in a fire pit?
You will need fuel wood, lighters, or flint and steel to start a fire in a wood-burning fire pit. Although commonly used, lighter fluids and other flammable liquids should be avoided as they can cause flare-ups and are not environmentally friendly.
How do I ensure proper air flow for the fire?
Arrange the fuel wood in a way that allows air flow, as flames can only burn with a sufficient oxygen supply.
Is it safe to use liquid propane gas in a wood-burning fire pit?
No, liquid propane gas should not be used in a wood-burning fire pit, as it can be dangerous and cause wildfires.
How do I start a fire in a gas fire pit?
For a gas fire pit, simply turn the switch or push the button to allow the gas flow, then use a spark or lighter to ignite the pilot flame.
What safety precautions should I take when starting a fire?
Always follow local fire codes, use fire-resistant tools, have a water source nearby, and never leave the fire unattended to prevent accidents or wildfires.

Conclusion
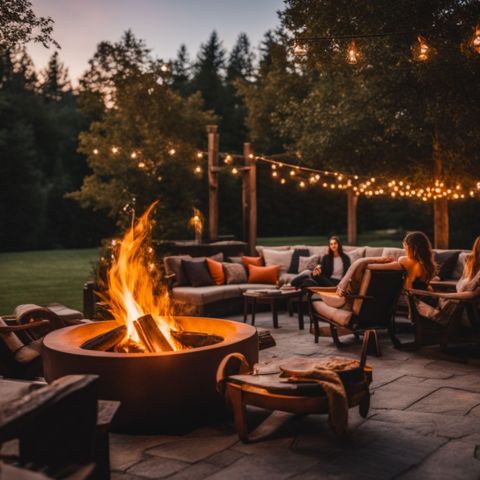
Fire pits offer an enjoyable outdoor experience if you know how to start a fire in a fire pit.
Follow safety guidelines and learn the proper techniques. Gather suitable materials and arrange them correctly.
Light the fire carefully, monitor fuel addition, and extinguish it properly.
Embrace the warmth and ambiance of your controlled fire pit.